
Inflatable Repair Guide
Applicable Issues**: Holes, scratches, seam splits, valve leaks, etc.
I. Tools and Materials Preparation**
1. **Repair Materials**: PVC patch (matching the inflatable’s material), PVC-specific glue (or inflatable repair adhesive).
2. **Tools**: Scissors, sandpaper (or abrasive cloth), marker, cleaning cloth, soapy water, hairdryer (optional).
3. **Auxiliary Tools**: Air pump (for leak detection).
II. Repair Steps**
1. Locate the Leak**
- **Method 1 (Soap Solution Test)**:
1. Inflate the inflatable halfway (keep it soft for easier handling).
2. Spray soapy water on suspected damaged areas.
3. Watch for bubbles and mark the leak.
- **Method 2 (Sound/Touch)**: Listen closely for hissing or feel for airflow with your hand.
2. Clean and Prepare the Surface
- Wipe the leak area with alcohol to remove dirt and grease.
- Lightly sand the damaged spot and surrounding area (to improve glue adhesion). Sand an area slightly larger than the patch.
3. Cut the Patch
- Cut a PVC patch into a circle/oval 2-3 cm larger than the damaged area (avoid sharp corners to prevent peeling).
4. Apply Glue
- Spread a thin, even layer of PVC glue on the sanded area, with slightly thicker edges.
- Apply glue to the patch’s backside. Let it sit for 1-2 minutes until tacky.
5. Attach the Patch
- Align the patch over the leak. Press from the center outward to remove air bubbles.
- Use a heavy object (e.g., books) to press the patch, or hold it firmly for 1-2 minutes.
6. Curing and Testing
- Let the glue cure for 24 hours (use a hairdryer’s cool setting in emergencies, but effectiveness may decrease).
- Re-inflate and test with soapy water to confirm no bubbles form.
---
III. Special Scenarios
- **Seam Splits**: Repair both inside and outside, prioritizing an inner patch.
- **Valve Leaks**: Tighten loose valve screws or replace the valve (requires specialized tools).
- **Large Tears**: Contact the manufacturer or use heavy-duty patches + industrial adhesive.
---
IV. Precautions
1. **Glue Safety**: Work in a ventilated area, away from open flames.
2. **Environment**: Repair at temperatures above 10°C (50°F) and humidity below 70%.
3. **Avoid Mistakes**:
- Do not use regular tape or superglue (they’ll fail).
- Small patches or unsanded surfaces may cause re-leaking.
4. **Maintenance**: Store away from sharp objects and clean before folding.
V. FAQs
- **Q: What if I don’t have PVC-specific glue?**
A: Epoxy glue can be a temporary fix, but replace it with PVC glue ASAP.
- **Q: How to fix a peeling patch edge?**
A: Sand the area, reapply glue, and press firmly. Add a second patch if needed.
- **Q: How long until the inflatable is usable?**
A: Wait 24 hours for full curing. For urgent use, ensure the glue is completely dry.
This guide covers most common inflatable repairs. For severe damage or undetectable leaks, consult a professional repair service.
-
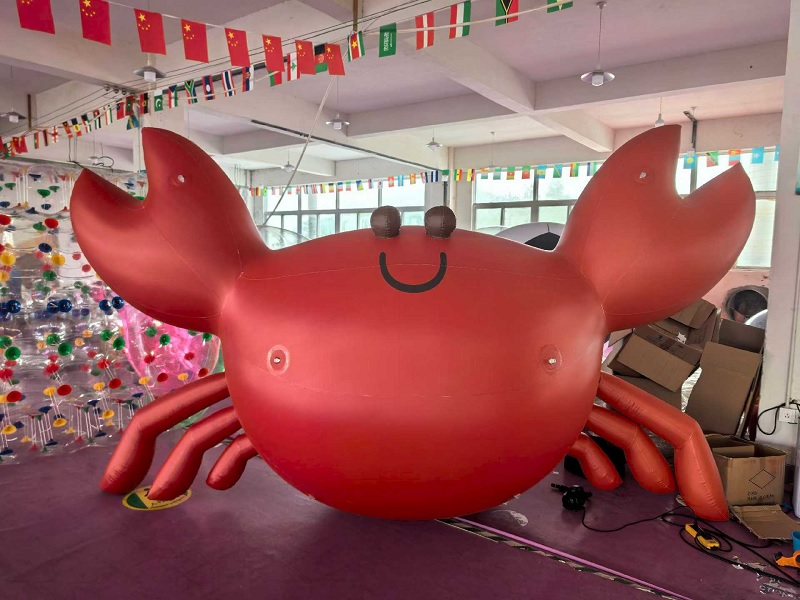 Inflatable crab, inflatable cartoon, inflatable doll, outdoor cute decorative item, attract customers, program atmosphere creation, outdoor advertisement
 -
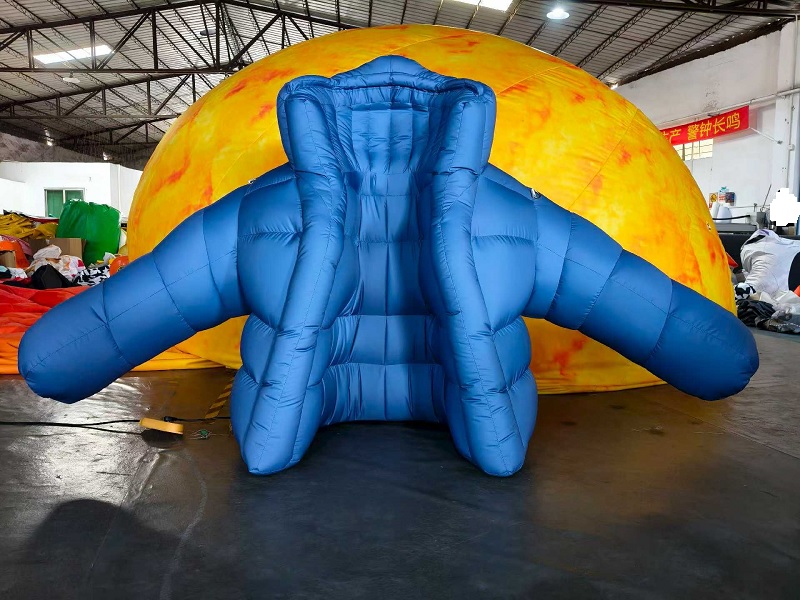 Inflatable coat customer recruitment - Novel advertising model for inflatable character clothing store
 -
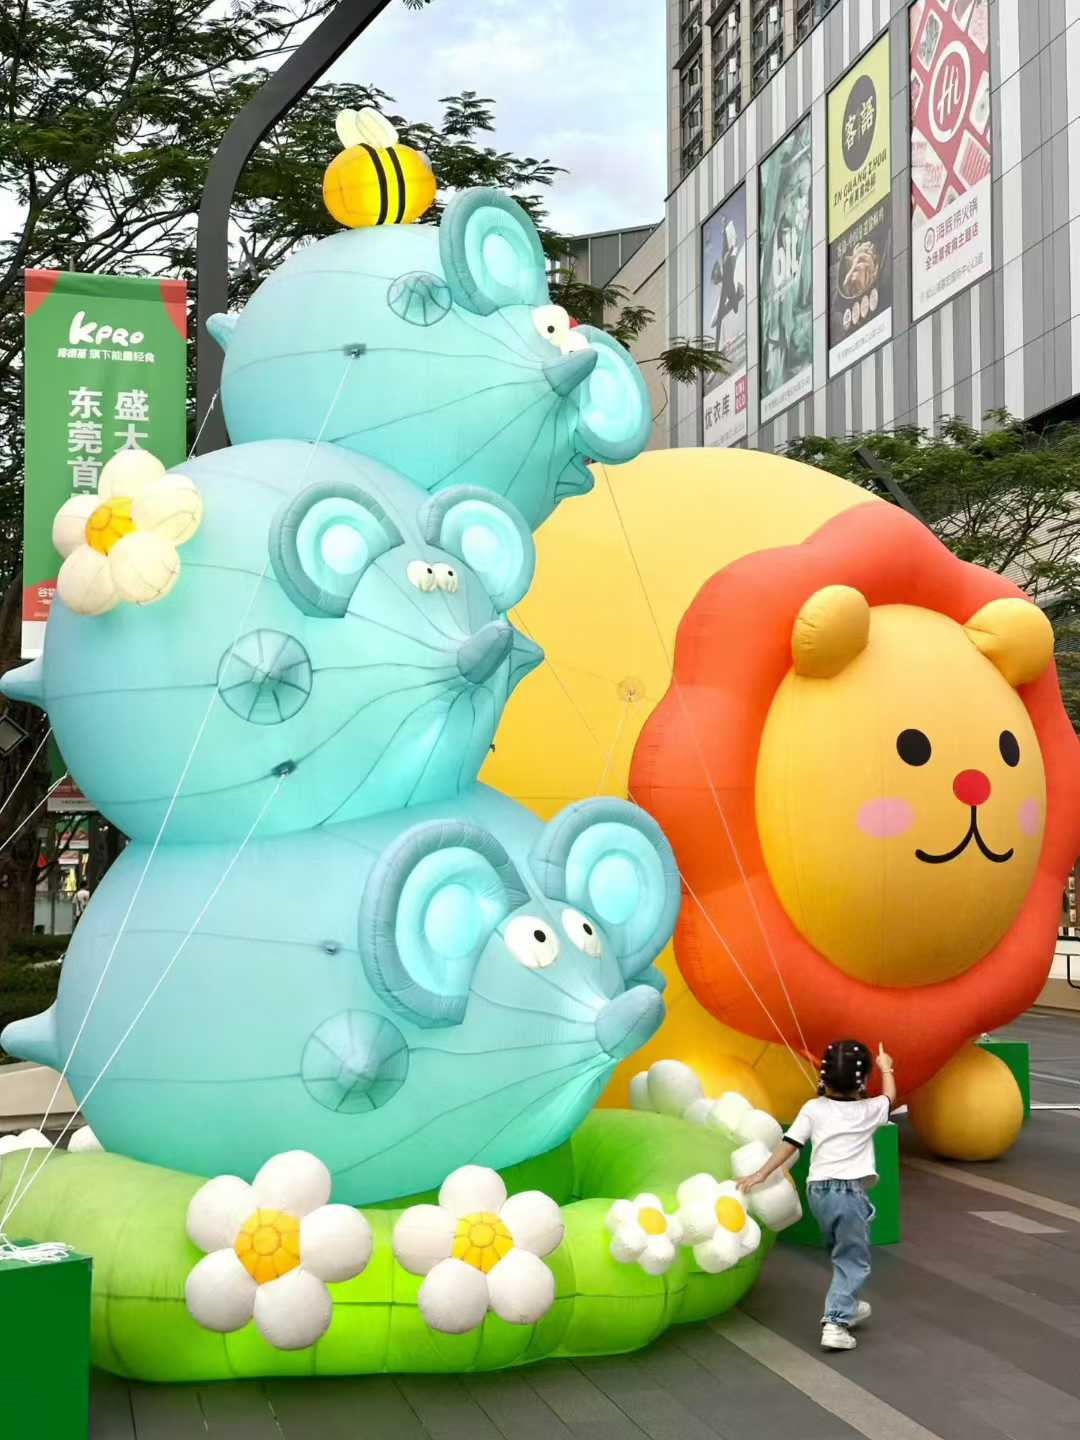 Inflatable models, inflatable cartoon city-themed decorative items, artworks, creating festive atmosphere, shopping mall to attract customers
 -
 Six Benefits of Inflatable Rock Climbing
 -
 Inflatable Gym Mats: Advantages, Precautions, and Maintenance Methods
Contact US Catalogue Information
008613539990461 inflatable@bubble-wish.com Water Products Contact Us Terms&Conditions
Open 09:00 am - 06:00 pm / mon - Fri Land Products Blog&News Cookie Policy
Copyright © Bubble Wish 2023-2025 Privacy policy Return Policy